Shopping for a new or used car can be an enjoyable experience, especially when you can test-drive your favorite models and pick colors, trims, or upholstery. Some people, like luxury brand owners or parents of young children, might have specific preferences and favor leather seating. After all, the material provides a modern, sleek look and elegant feel, and it is durable, easy to clean, and doesn’t trap odors.
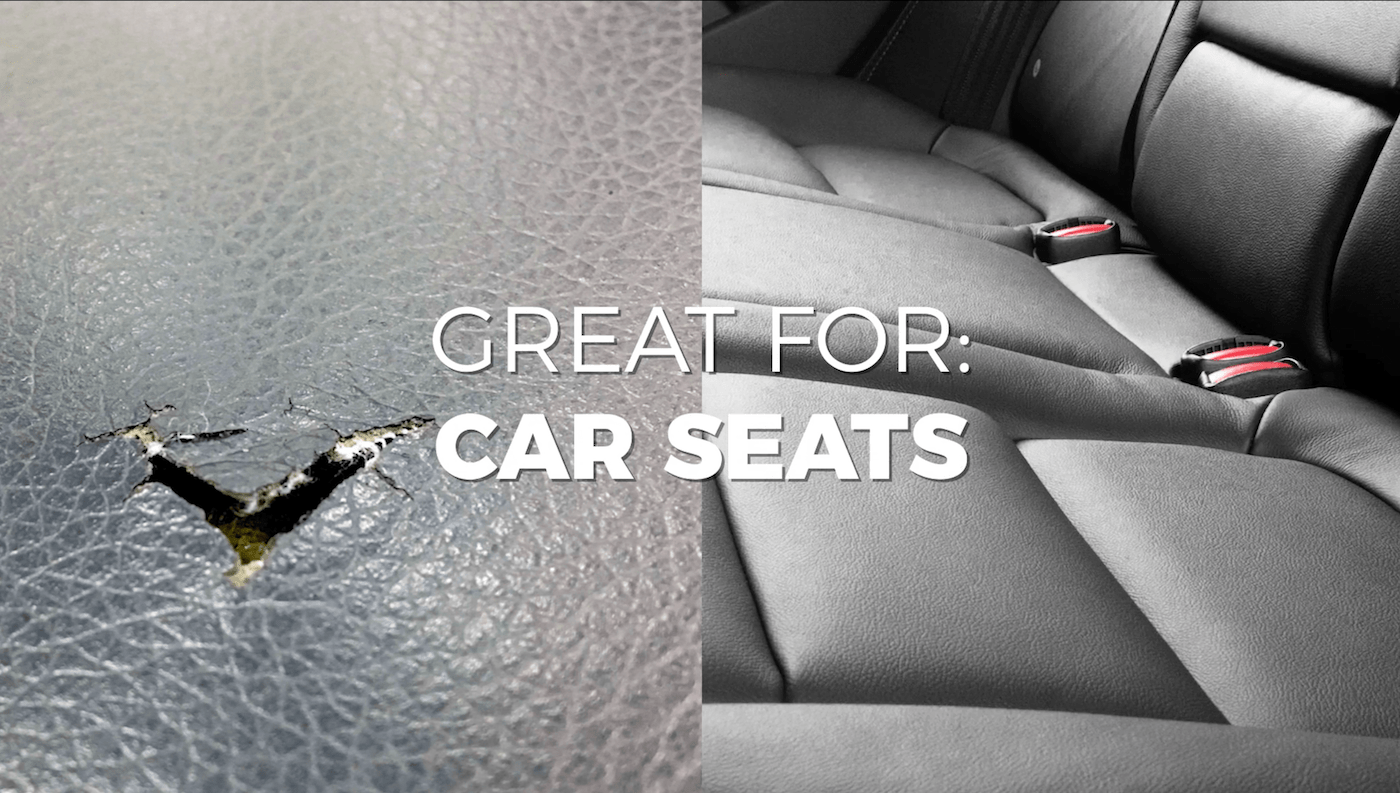
But like most material items, leather can wear over time, eventually ripping, tearing, or cracking. Thankfully, fixing the damage is possible and can be done right from home. So if your car’s interior could benefit from a DIY overhaul, consider the following money-saving tips to repair leather car seats on your own.
Restore Leather Car Seats in 4 Easy Steps
While a DIY leather repair might initially intimidate you, you can do it with the help of some research, time, and patience. And once you know what to do, restoring the upholstery can help preserve the material for the life of your ownership.
-
Keep the material clean.
Vehicle maintenance should always start with proactive care. To prevent cracks or scratches in your leather before they happen, you’ll need to start caring for your seats as soon as you purchase the vehicle. Begin by removing dirt and debris with a vacuum and sucking up loose particles from the seats and between the gaps. Also, cleanse any problem areas like spills or stains with a quality leather cleaner or homemade solution.
Instead of purchasing a leather cleaning product, you can:
- mix 5 parts warm water with
- 1 part liquid dishwashing soap or castile soap in a bucket.
If you want to avoid soap, mix equal parts of water and vinegar.
Once your solution is ready, lightly apply it to a microfiber cloth and gently scrub the soiled areas. However, do not saturate the seats or apply the solution directly because too much moisture can cause mold. Also, always be sure to spot-check when using any cleaning solution (homemade or purchased) to ensure that it won’t harm your vehicle’s upholstery. Simply apply the solution to a spall, inconspicuous part of your vehicle, such as the bottom side of a seat. If you notice any adverse effects, disregard the solution and look for another one to try.
-
Condition it often.
Ensuring your leather is clean, soft, and supple is an excellent way to extend the life of the material and keep it looking new. Recommendations suggest using a high-quality leather conditioner explicitly made for automobiles every 3-6 months to prevent scratches, cracks, and drying. Some of the best leather care products are made with natural oils and beeswax to help restore moisture and protect against heat, water, and blemishes. But be sure to keep your vehicle out of direct sunlight. UV damage can dry out leather and counteract the upkeep.

GET AN EXTENDED WARRANTY FOR YOUR CAR!
Want to protect yourself from pricey auto repairs?
Let us help you find the right extended car warranty company and coverage plan for your vehicle!
Get Pricing
-
Buy a quality leather repair kit.
Not every motorist is the original owner of their vehicle, so your car’s seats may not be in the best condition if you bought used. And if you’ve owned the car for a significant amount of time, unexpected mishaps may have caused seat damage, whether from a child, pet, or you. But with the help of a leather repair kit from a hardware or auto parts store, you can repair holes, cracks, or peeling in the upholstery without calling a professional upholsterer for help.
To start, shop for a complete leather repair kit designed for your original material. Certain liquid leather products will work for natural and synthetic leather and vinyl.
Depending on your needs, you might need liquid leather, a patch kit, or both. But make sure the product matches your upholstery’s color as closely as possible. This Old House recommends the Coconix Vinyl and Leather Repair Kit, which has over 17,000 Amazon customer reviews. Each kit provides 10 color repair compounds, making color matching your material more manageable.
-
Follow the instructions.
Read the instructions thoroughly once you have your kit to understand the process better. If you prefer seeing how it’s done before starting the repairs, you can access how-to videos on YouTube or purchase a product that includes an instructional video. But remember, each will be different depending on the repair type. You may also need several other items to complete the repair, such as sponges, sandpaper, scissors, tweezers, denatured alcohol, and wax paper. Make sure you gather everything you need before starting. Consider the following examples to gain a better idea of what to expect during your leather car seat repair:
- Fixing cracks with liquid leather: After washing and drying the repair area, you will likely have to apply denatured alcohol with a clean cloth. Completely dry the area with a microfiber towel, and then gently rub the area with a leather sanding pad to ensure the product sticks. Next, you will spread the liquid leather over the crack and wait for it to dry. You can wipe away the product with a wet sponge if there is any spillover. Continue applying the product in the same manner until it’s level with the rest of the seat. Finally, dilute a portion of the product with water to cover the entire seat to blend everything together. The amount needed will depend on your instruction’s recommendations. But after you spread a light layer over the seat, let it dry, and then go over it with a leather conditioner.
- Mending tears: Once you clean and condition the area, you will need to trim the area’s border with scissors first. The idea is to ensure the leather is flush with the seat’s surface since this damage often has ragged edges. Next, smooth the torn area with a leather sanding pad just as you would to fix a crack. Once ready to apply the leather adhesive, push a small amount of wax paper into the hole so it’s flush with the cushion beneath the fabric. This way, the paper will absorb the liquid and not the cushion. Next, take out your leather patch, cut it larger than the fabric’s gap, and attach it to the area with the leather adhesive. Last, secure the bond using a heat source such as an incandescent light bulb, hairdryer, or heat gun.
- Repairing holes with patches and liquid leather: Various websites note that repairing holes and punctures is much easier than fixing cracks and tears. Why? Because repairing small holes only requires a liquid leather product. However, more significant gaps will necessitate the use of a patch. Whatever the case, follow the kit’s instructions to fill the hole, smooth the edges, and allow it to dry before using the seat. Again, you will likely need to clean and condition the area before beginning the repair process.
Care for Your Car Before it’s Too Late
The best way to ensure your car lasts a long time and retains its value is by taking care of it. When you keep up with routine maintenance, regularly check the oil, and invest in services that preserve your car’s appearance, you can help increase its life. Purchasing a vehicle protection plan is another part of the care-taking process, which can offer peace of mind from unexpected breakdowns. With the help of an extended car warranty from a reputable provider, you can keep your car in top condition and save thousands of dollars on expensive repair costs for years to come. Not sure if your car’s warranty is still active? Find out what to do next.